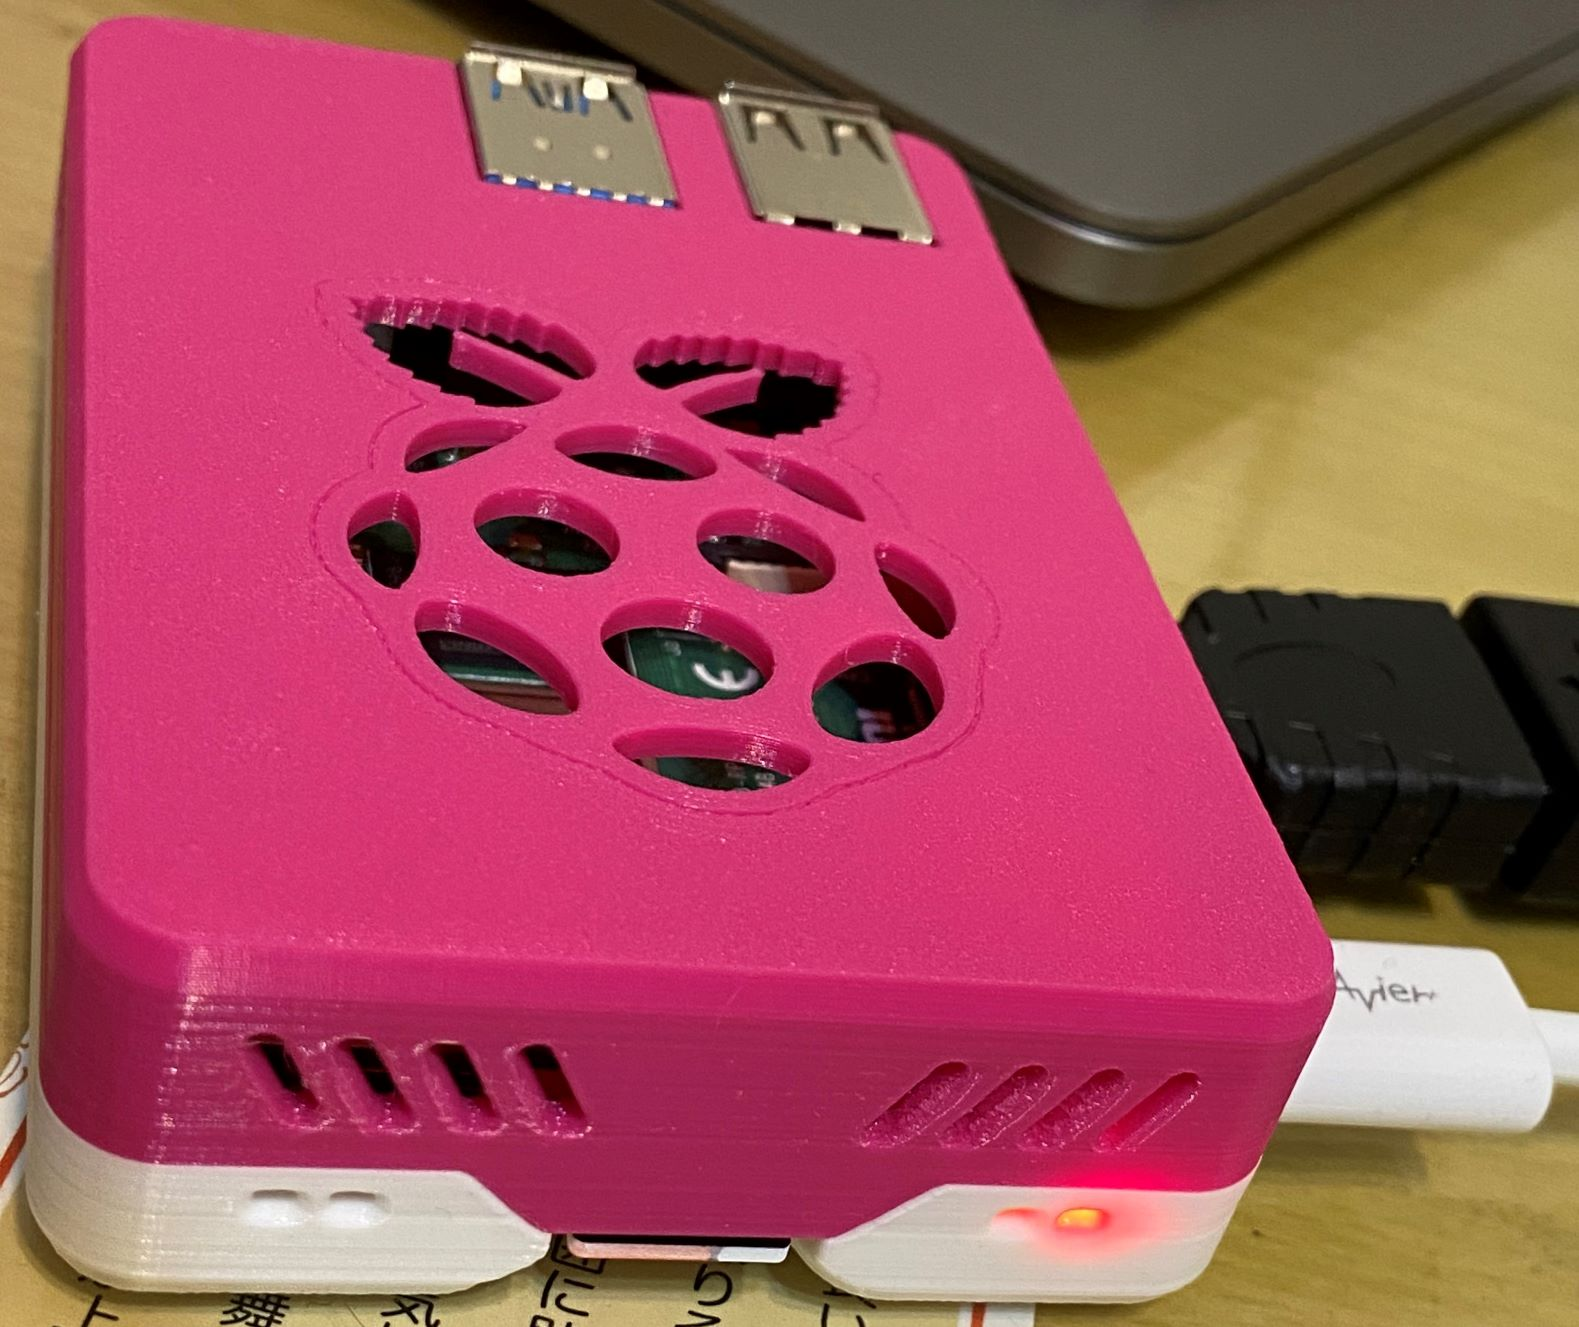
Super excited to finally own a Raspberry Pi! Extremely cute with the pink 3D-printed case and is a total match with my Piglet, hence the name, Raspberry Pi(glet)! This series is dedicated to Piglet, my first ever Raspberry Pi (4b)!
Official Guide
There's no place better to get started by going to the official guide! The official guide leads to installing the recommended OS, Raspberry Pi OS (formerly: Raspbian, Raspberry Pi + Debian).
Ubuntu 20.04 + Kubuntu Desktop
I'd like a little something different for Piglet rather than the recommended OS from the official guide. We'll be going with Ubuntu 20.04 + Kubuntu desktop. Not sure about the performance yet, but it's super easy to change the OS if it doesn't work out.
Unfortunately, Ubuntu 20.04 is only available with the server version in Raspberry Pi Imager, so it means will need to deal with the black tty screen in a bit. I didn't notice I installed the server version until I looked back at the screenshots I took.
The reason for choosing this is because Ubuntu 20.04 has LTS (long term support) whereas Ubuntu 21.04 Desktop (the only desktop version available in Raspberry Pi Imager at the time of writing) will only be supported until 2022. Below is a snapshot from Ubuntu's website. That being said, it doesn't really matter much which option we choose because as said earlier, switching OS is extremely easy. I just wanted to feel good with Piglet by logging down a reason. 🤣

Useful links
Install Ubuntu on a Raspberry Pi | Ubuntu
Step-by-step Screenshots
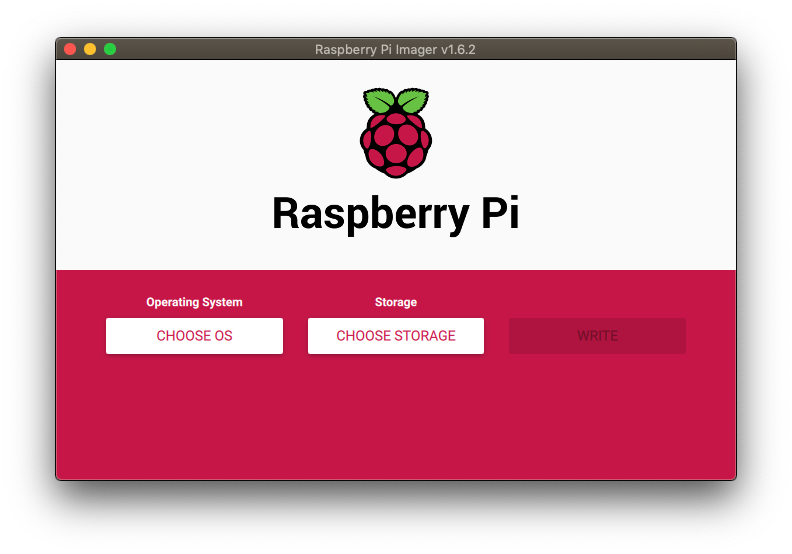
1. Raspberry Pi Imager on Mac. Click on "CHOOSE OS"
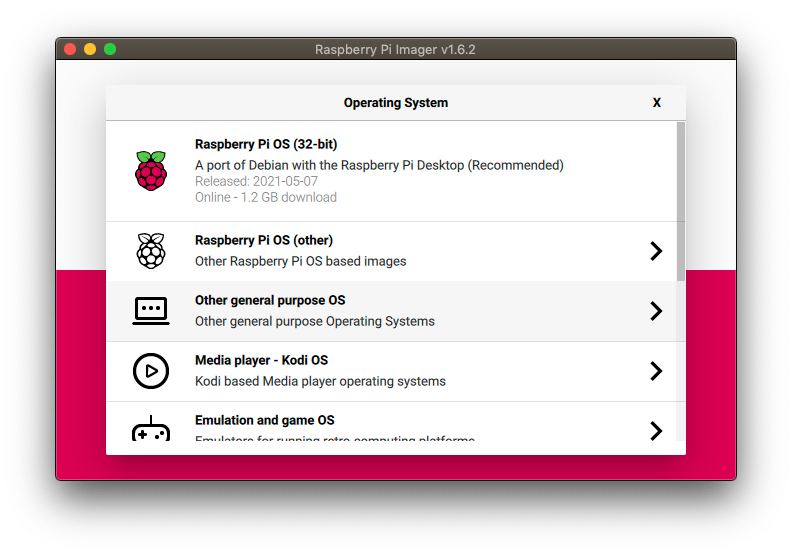
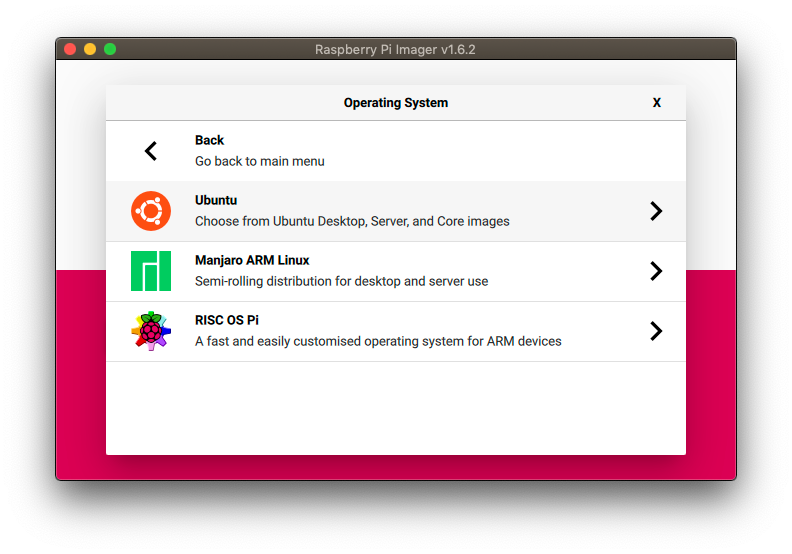
2. Select "Other general purpose OS"
3. Select "Ubuntu"
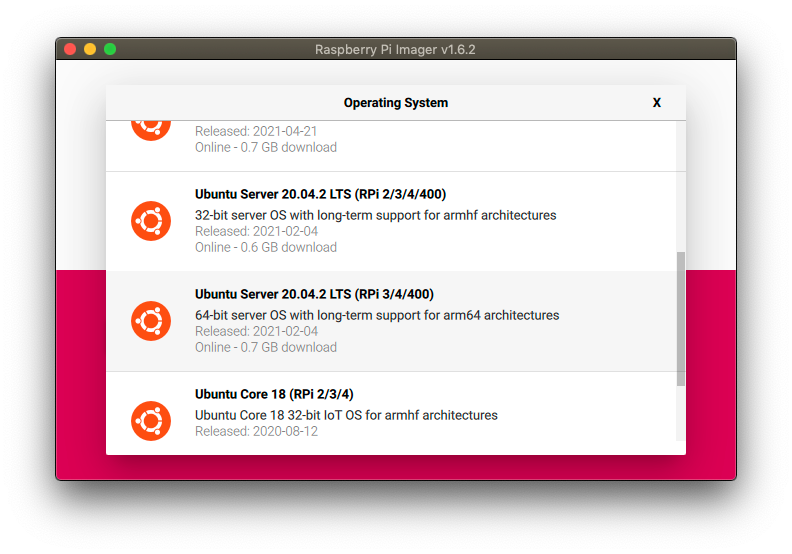
4. Select "Ubuntu Server 20.04.2 LTS"
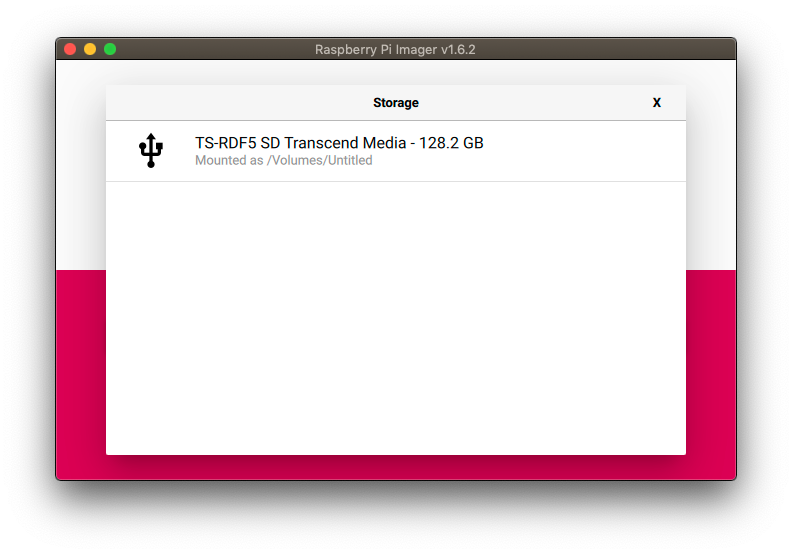
5. Select the SD card
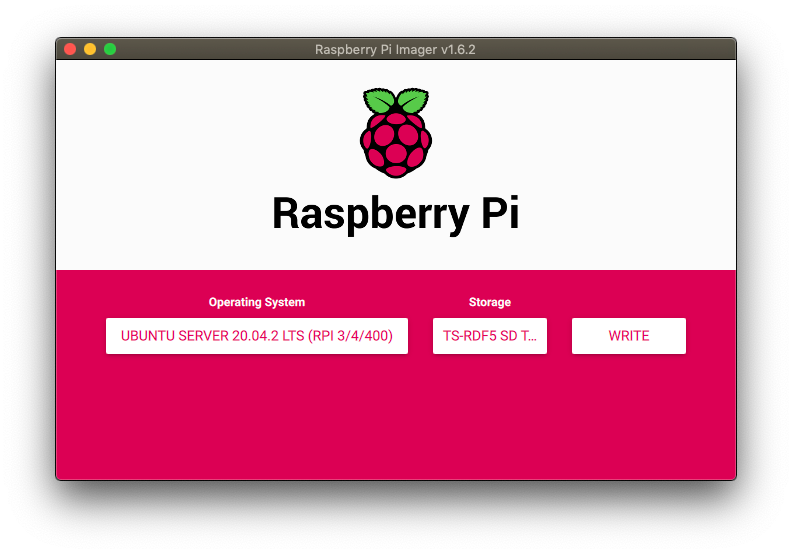
6. All set and click on "WRITE"
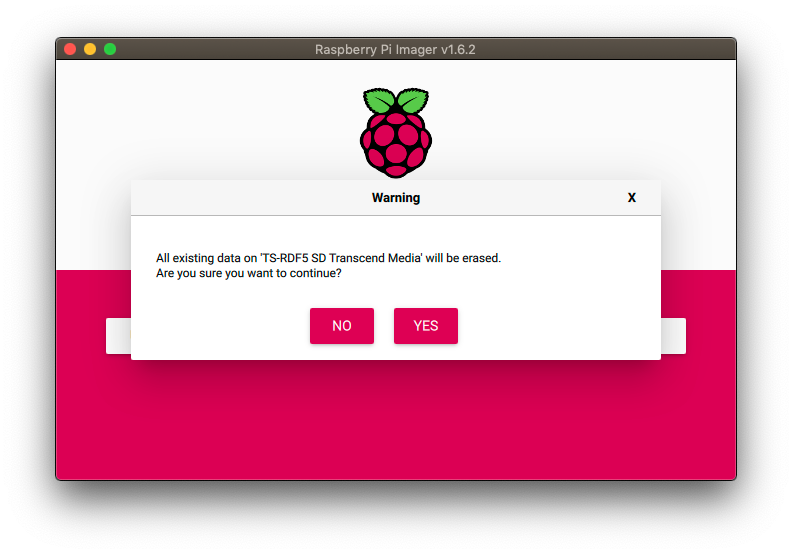
7. "YES" we want to continue
8. Here we go
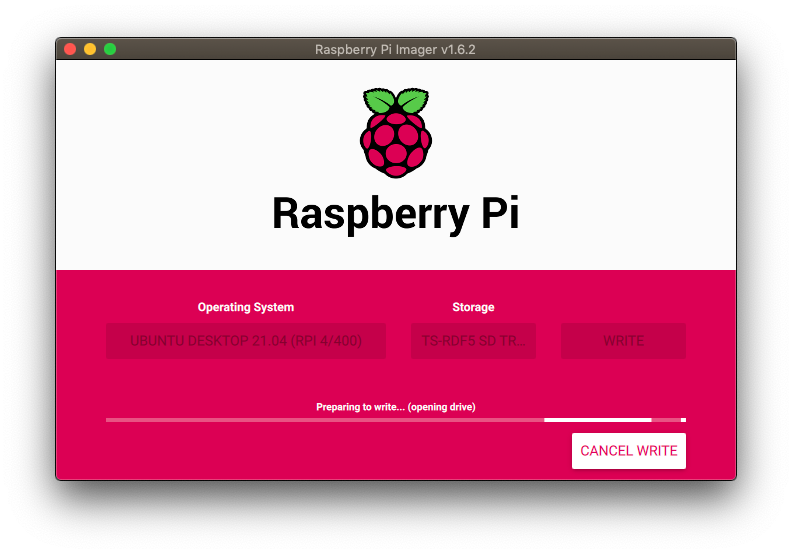
9. Writing...
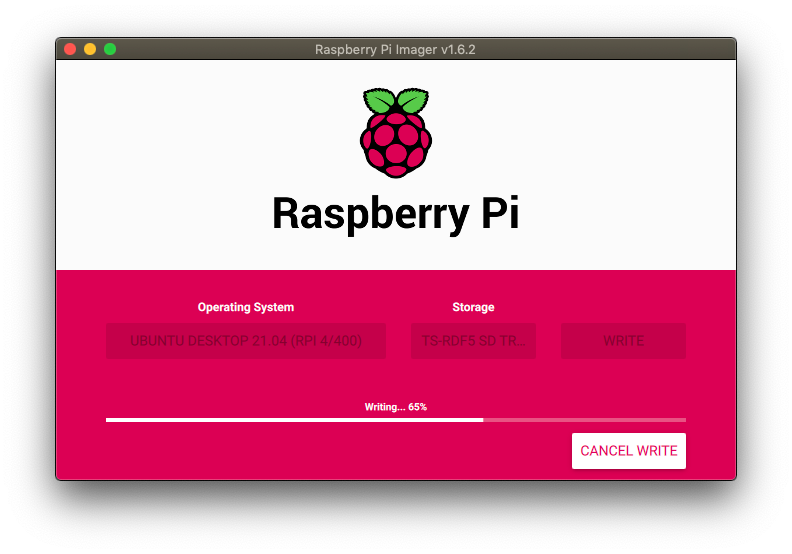
10. Almost there
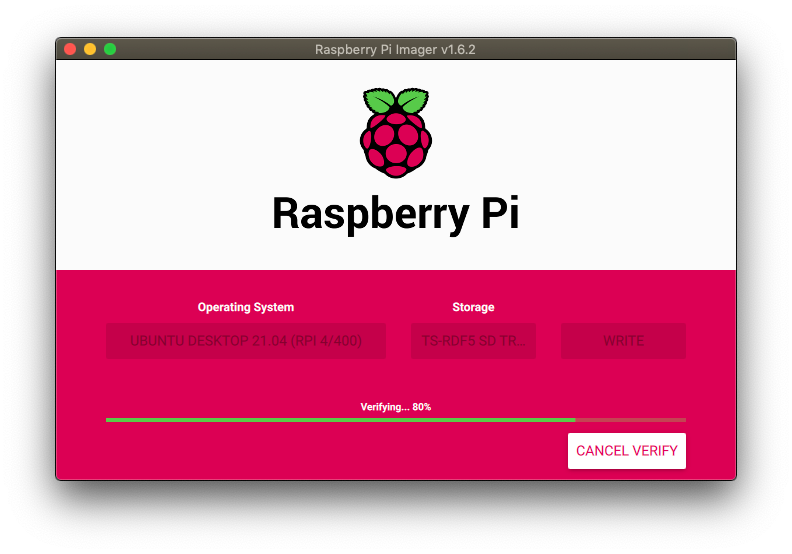
11. Yay and we've prepared the SD card
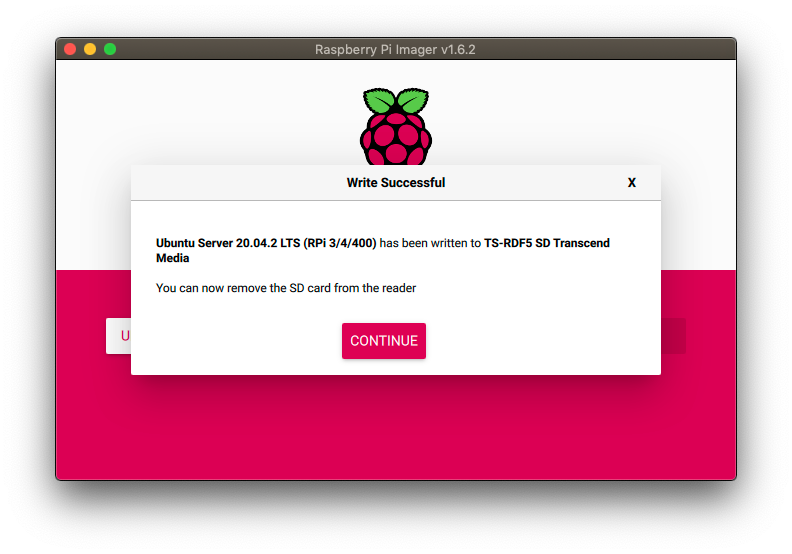
12: Insert the SD card
Next Steps
We're all set so let's plug in Piglet and start it up!
Switch to tty2
Since tty1 will be stuck letting you know that Piglet is running fine, so we'll need to switch to tty2 to run the commands. Switching is easy by using ctrl+alt+F2.
Install Kubuntu Desktop
sudo apt install kubuntu-desktop
Troubleshooting
GUI not running
startx
Black borders
# open /boot/firmware/usercfg.txt
disable_overscan=1
Useful links
Conclusion
I might need to switch to Raspberry Pi OS in the future (lol). I think a lot of extra effort is needed to run everything smoothly on Kubuntu. I tried watching YouTube videos after getting it running and it felt super stuck.
The temperature was around 70+ degrees Celcius when running Kubuntu. If we're only running the server and not connected to a monitor, it was around 60 degrees. Room temperature should be around 27 degrees. Not sure if this is too hot but I did see the overheating icon when I was in Kubuntu.
That's it for now and I'll probably stick to using the server itself via ssh so that I don't overheat Piglet.
Piglet: Hello world!